Font of any element on your website can be managed in two ways: globally or locally.
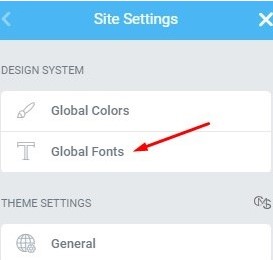
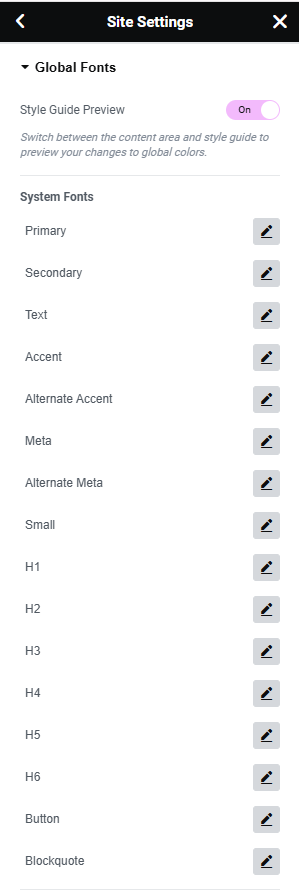
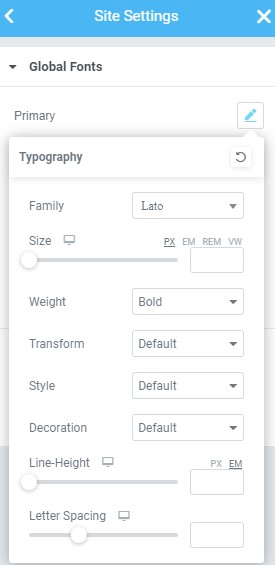
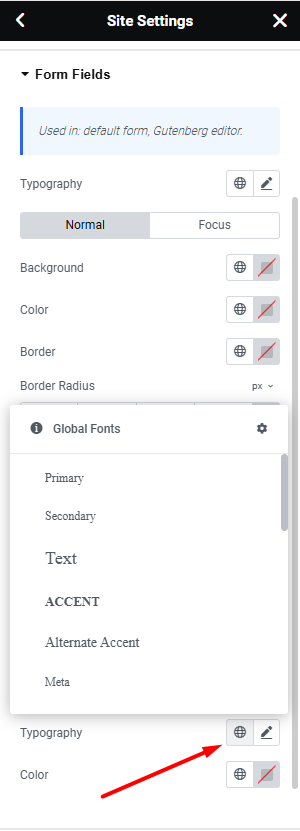
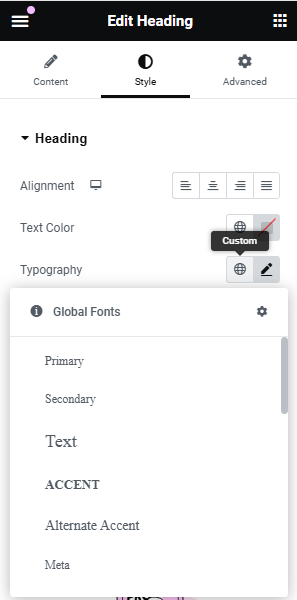
Global fonts are applied sitewide, and along with global colors they are an easy way to create an overall design for your website. The best part of it is that you can change your whole website’s appearance in a few clicks – all you need to do is change the globals. Also global fonts are used as a ready typography collection on any typography setting – you can choose one of these fonts anywhere you want, like for a type of elements in Theme Settings, and for each specific element on your page or post.
Local fonts are applied to any specific element separately on each page or post. These are great when you need to create a standing out page element, or simply a content section with custom appearance.