How to enable Header overlap content?

The Header Overlap Content feature has been introduced to enable your header elements to appear on top of your website content. This option is commonly used when you have a transparent header on your home page, especially if there’s a full-screen hero slider or a large image in the first section of the content area.

Editing Header template

Header Settings
Header Settings

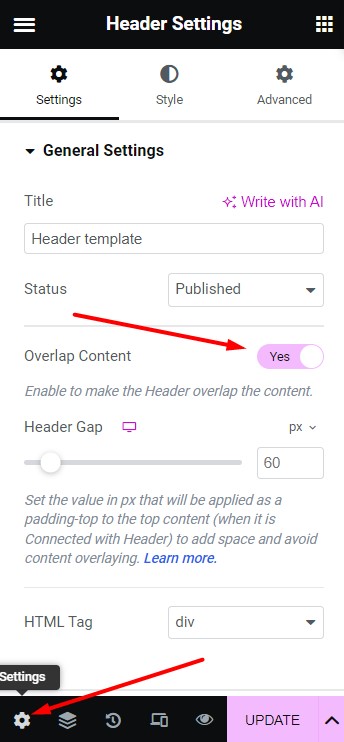
To make your Header overlap content you’ll need to edit the Header template and click on the Settings icon in the bottom left corner.

In the General Settings tab you’ll see the Overlap Content option that needs to be enabled. 

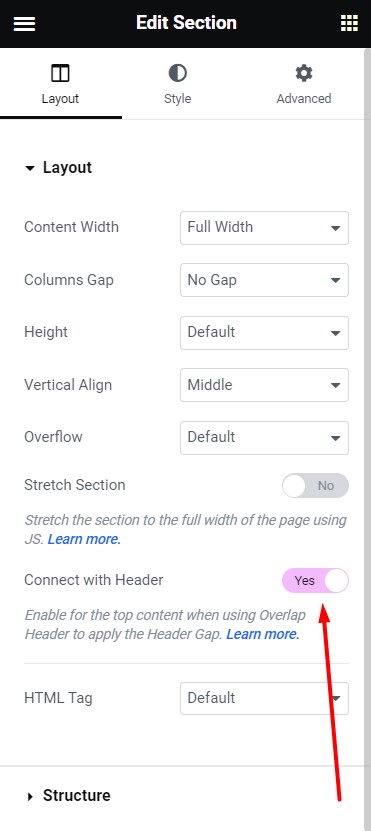
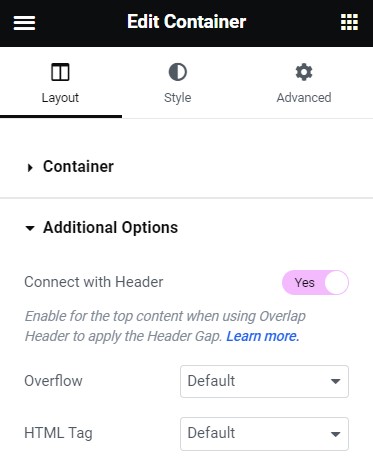
After that you could set the Header Gap – this value supposed to be equal to your Header height. It is needed to prevent Header from overlaying the content on the page (e.g. not to overlap the text and/or buttons on the slider in the first content section). In fact by setting this value you set the top padding for the first content section in order to add space and avoid content overlaying.

Editing content on pages with overlapping Header

section settings
Section Settings

After you set the Header Gap in the Header settings there is a need to edit the pages where the overlapping Header is used. 

To make the Header Gap be applied to your top content section (the first section on the page) you’ll need to enable the Connect with Header option in the section settings. 

If you are using the Containers for your content editing (instead of Sections) you can enable the Connect with Header setting in the Container Additional Options tab.

Container Settings
Container Settings

Personal assistance is provided via the tickets system. Should you have any questions please submit us a request at https://cmsmasters.net/help-center/ with the link to your site and relevant WordPress and FTP credentials and our support agents will take care of it.